
Recording Vocals on a Phone When You Have No Studio
In 2026, your smartphone is more than enough to capture radio-ready vocal takes. Professional studios still matter for final mixes, but the first spark of a great performance often happens in ordinary rooms with nothing but a phone and some discipline. The secret is treating your environment and signal chain with the same respect a $5,000 booth would demand.
Start by scouting your home for the quietest, least reflective space. Walk around during different times of day and listen. Wardrobe closets lined with clothes remain the gold standard for home vocal recording because fabric absorbs high frequencies and kills reflections. If your closet is full of wire hangers that rattle, a parked car with the windows up works almost as well. The seats and headliner soak up sound, and you can control temperature and lighting easily.
Choosing Your Microphone
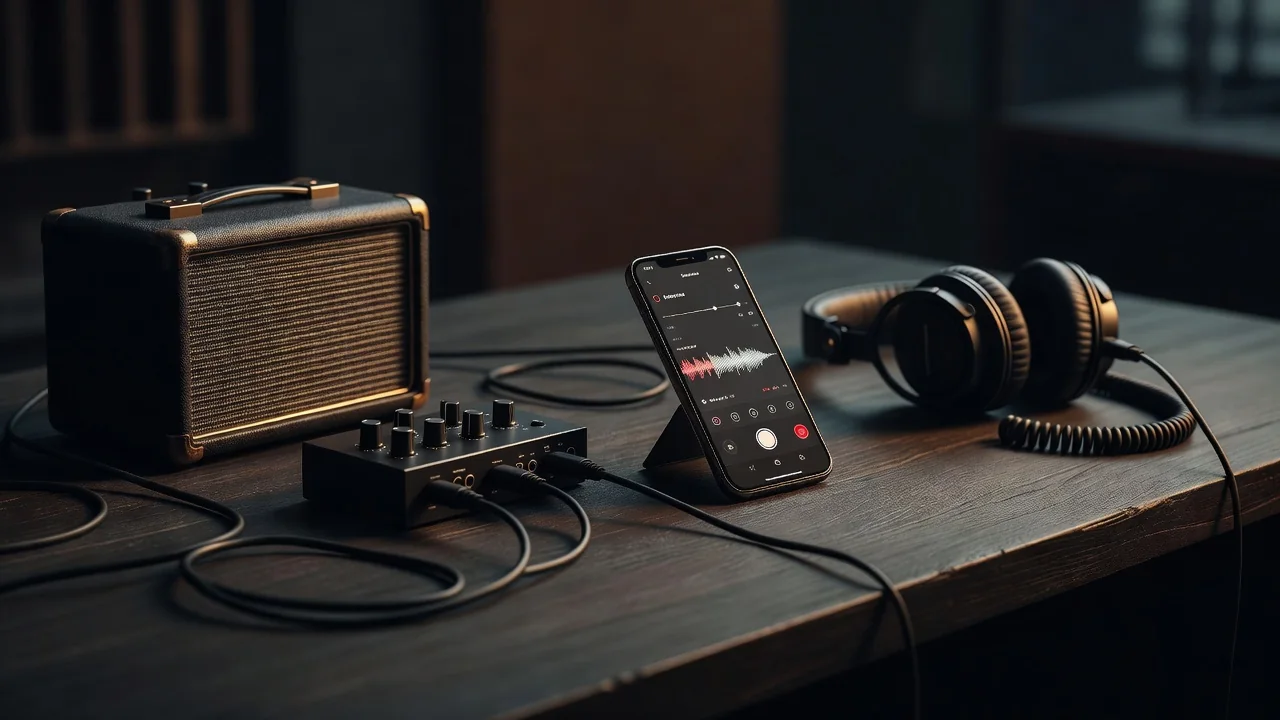
The built-in phone microphone has improved dramatically, but an external USB-C condenser still wins for clarity and low noise. Models like the Shure MV88+ or Rode NT-USB Mini plug straight in and give you better off-axis rejection than any phone mic. If you must use the phone’s own microphone, place it 6–8 inches from your mouth and angle it slightly off-axis to reduce harshness. Keep your phone in Airplane mode and turn off all notifications. Every beep or vibration will ruin the take.
Distance, Plosives, and Levels
Stand or sit with consistent posture. Eight inches is the sweet spot for most phone mics; closer than six inches and you risk proximity effect and plosive pops. A simple pop filter made from two layers of tights stretched over a wire hanger works surprisingly well. Record at conservative levels: aim for peaks around –12 dBFS. This gives you headroom for later processing and prevents the phone’s automatic gain control from kicking in and ruining dynamics.
Inside your mobile DAW of choice (BandLab, GarageBand, or Cubasis), keep the processing chain minimal. Start with a gentle high-pass filter at 80–100 Hz to remove rumble. Follow with a transparent compressor set to a 3:1 ratio, 8–10 ms attack, and 60–80 ms release. Finish with a de-esser targeting 5–8 kHz. The entire chain should stay subtle; heavy processing on the phone quickly sounds brittle.
Pre-Recording Checklist
- Close windows and doors; ask housemates to stay quiet for 15 minutes.
- Turn off air conditioning, fans, and refrigerators.
- Place phone on a stable surface or use a small tripod.
- Warm up your voice with lip trills and sirens for five minutes.
- Test record 10 seconds and listen back on headphones for noise or reflections.
- Set phone to Do Not Disturb and charge it above 60 %.
- Have water at room temperature ready but not on the same surface as the phone.
| Common Problem | Cause | Quick Fix |
|---|---|---|
| Boomy low end | Too close to phone mic | Move back to 8–10 inches and add high-pass filter at 90 Hz |
| Harsh sibilance | Direct on-axis recording | Angle mic 15–20 degrees off mouth and use de-esser |
| Background noise | Room not treated | Record in closet or car; close all doors |
| Pops and wind | No plosive control | Use homemade pop filter or sing across the mic |
| Distorted peaks | Recording too hot | Target –12 dBFS peaks and disable phone AGC |
After capturing clean takes, resist the urge to stack endless layers. Two or three solid passes with different emotional deliveries usually give you everything you need. Export at 24-bit 48 kHz if your DAW allows, then move the files to a laptop for final polishing. The phone is your sketchpad; treat it that way and you’ll be surprised how professional the results sound in 2026.
Most importantly, focus on performance. A slightly imperfect but emotionally true take will always beat a technically perfect but lifeless one. Record when you feel the song, not when the room is merely quiet. That emotional honesty travels through even the simplest smartphone setup.